Pages

Monday, March 31, 2014

Organizing Your Crafting Space, Part 1

I'd like to share some ideas with you that may help you in organizing your crafting space.  Whether you have a tiny part of your home or an entire room, organization is more important than anything else you can do.  I don't care how fancy you have it all set up, if you can't find anything and can't work efficiently, your creativity will be seriously impaired.

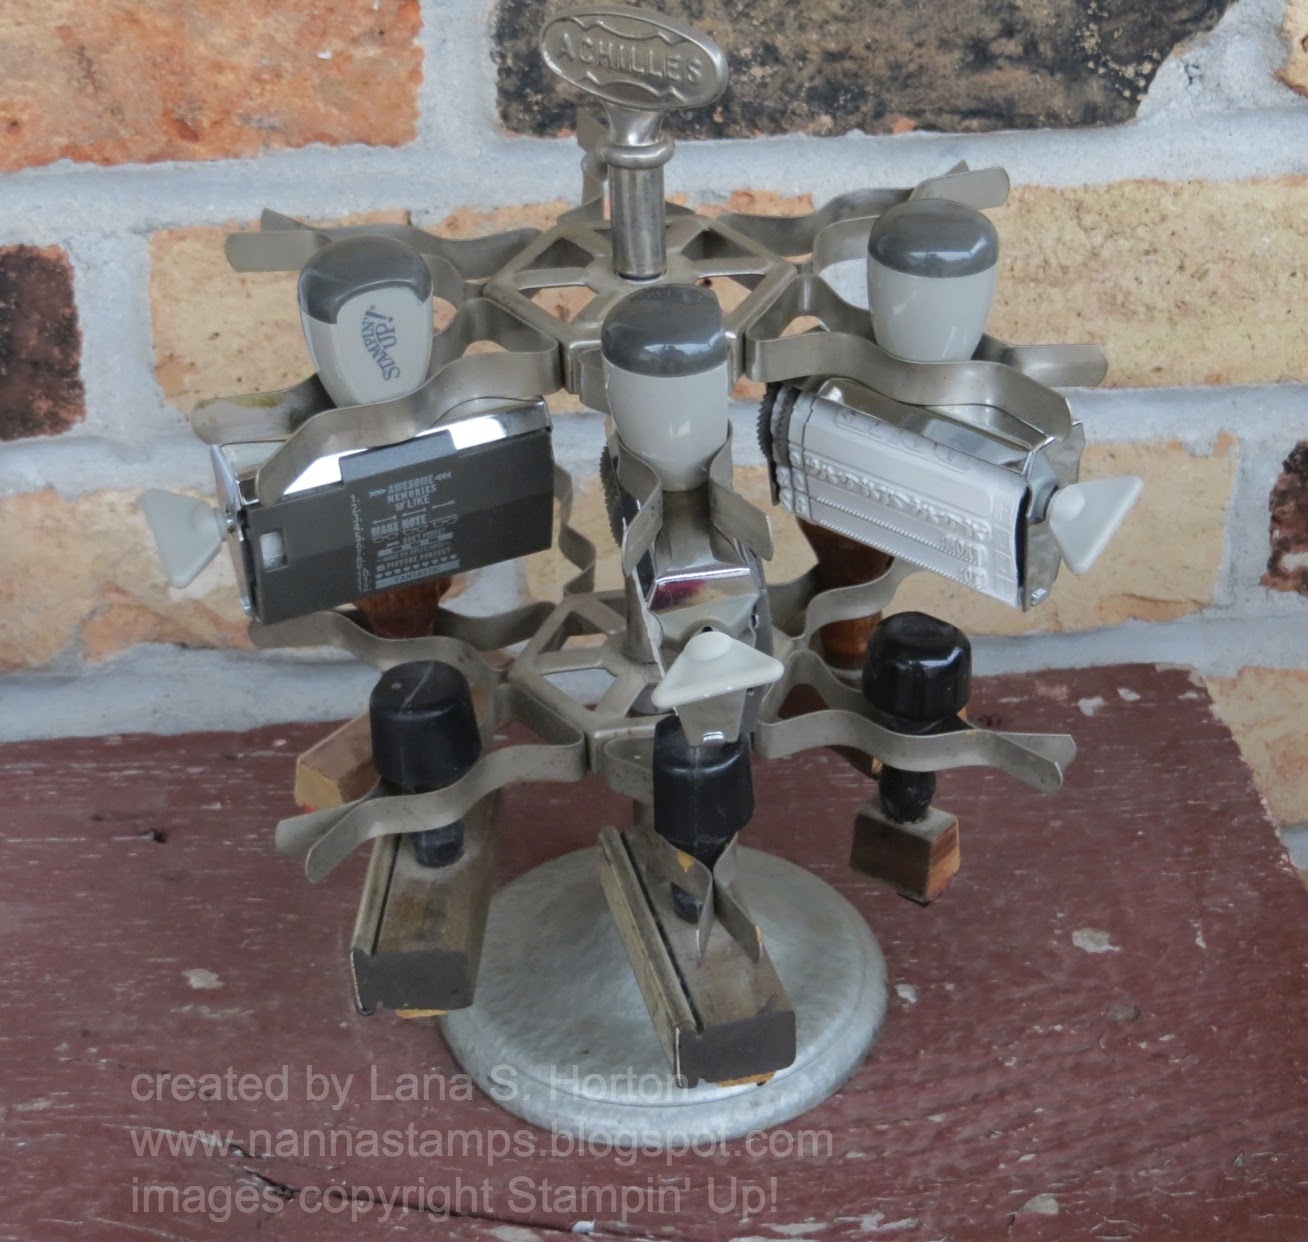
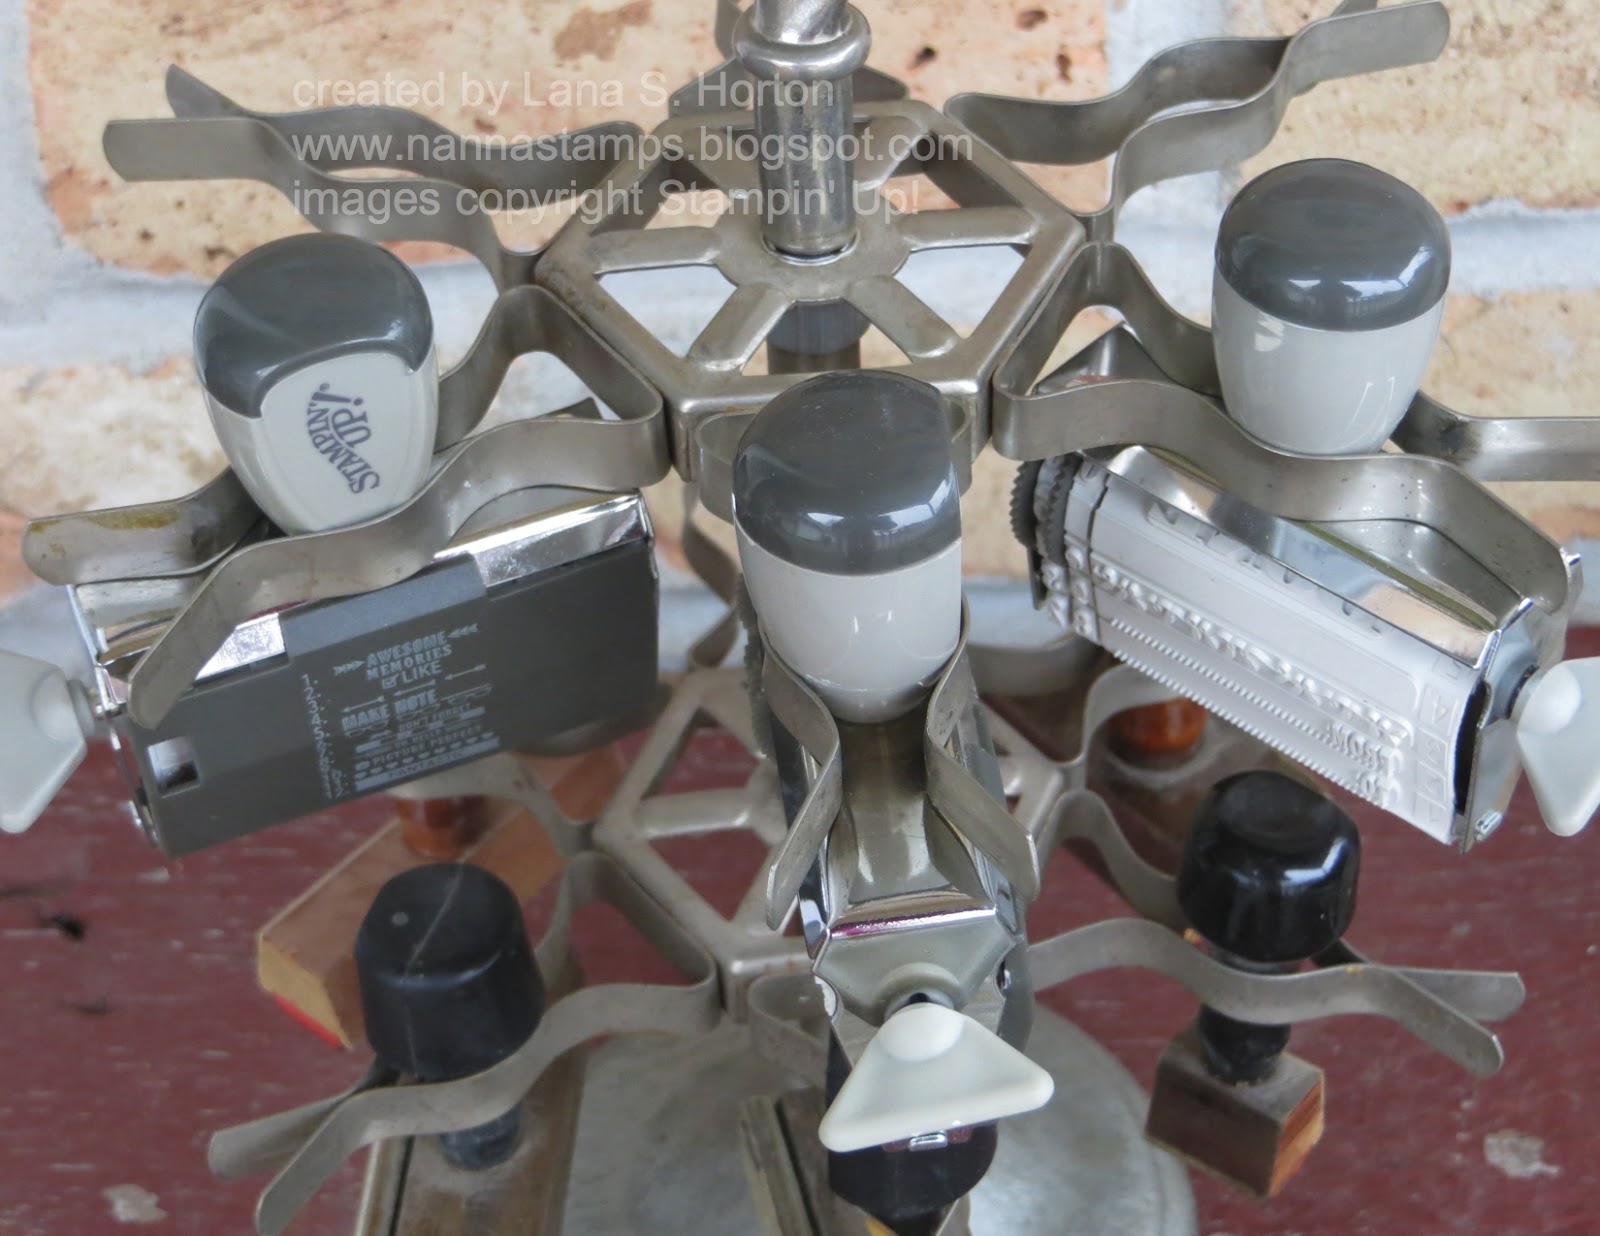
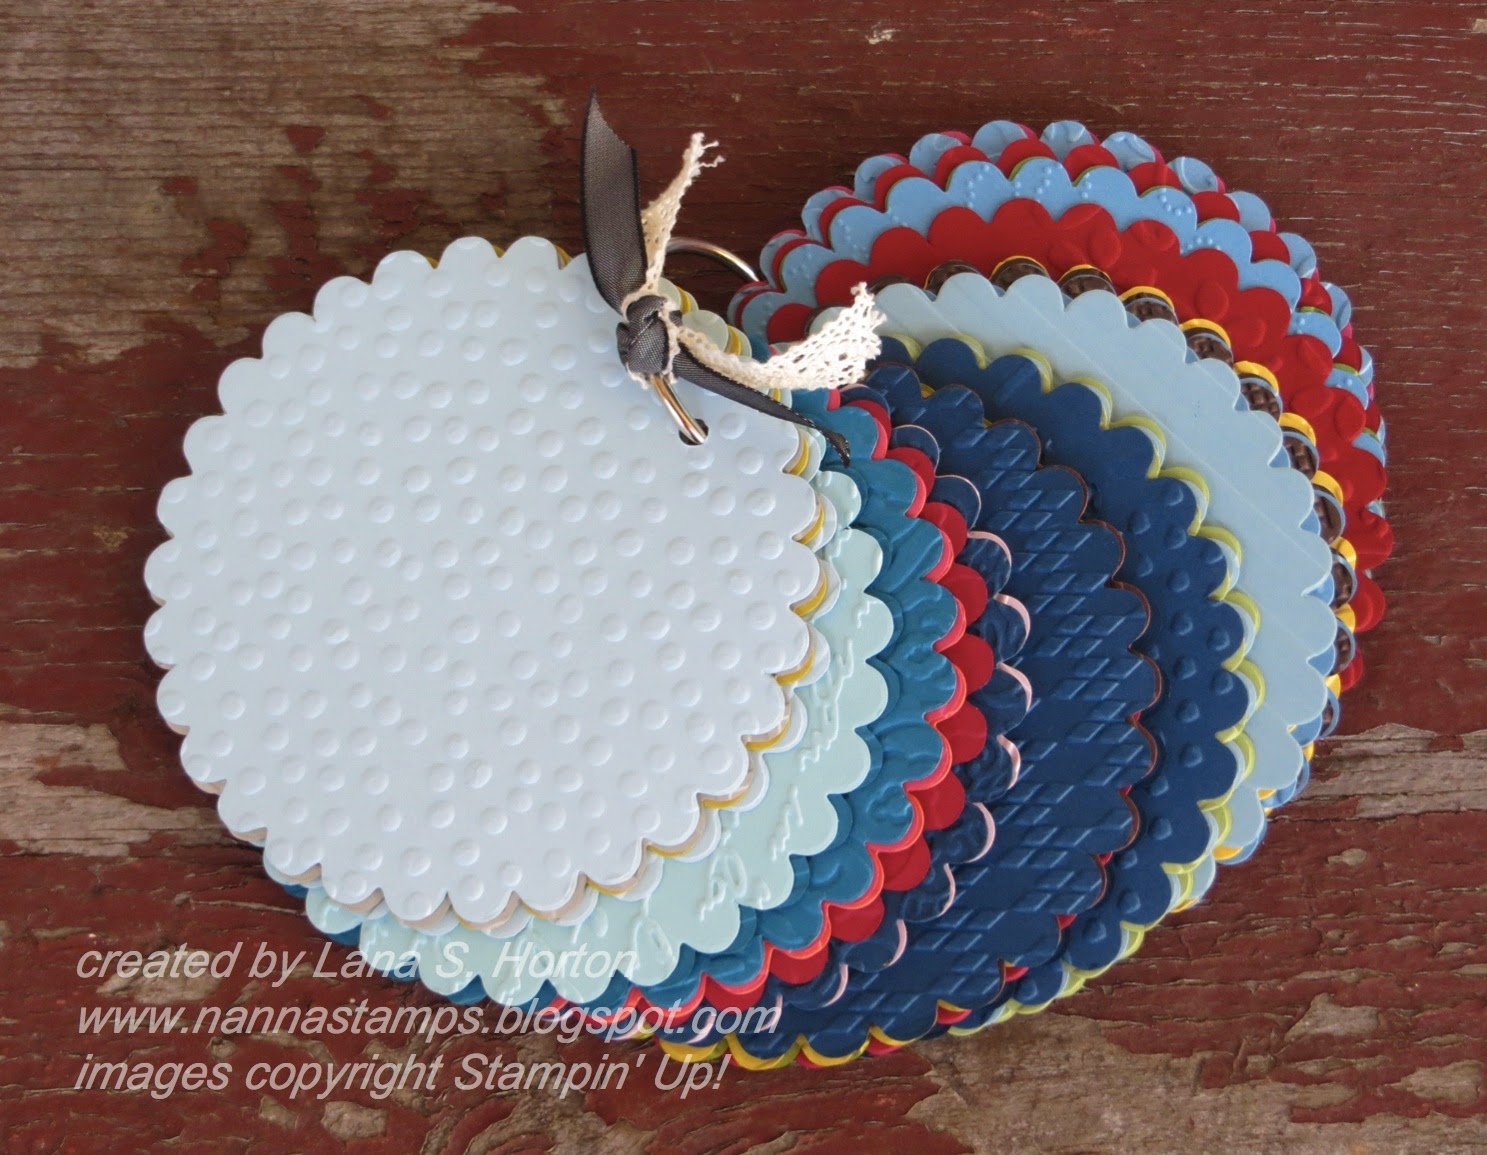
Before we begin, let me share one of my newest ideas with you --- a rotary stamp holder!  I've had this holder for a while and it certainly isn't new, but I had a new idea this week to try my own Stampin' Up! rotary stamps in it and they work!  How fun!
I was having trouble finding a way to contain these so I could find them, but not have them in the way.  This is the perfect solution!  If Stampin' Up! comes out with more rotary stamps, I have a little more room for them.  Bring it on!
Now... on to Organizing Your Crafting Space, Part 1:
I cannot tell you how to organize your space because each person has a different style of working and creating and you must do what works best for you.  I can give you tips and then you can take it from there.
One thing about crafting spaces is that they are constantly evolving.  The reason is:  We are constantly getting newer and better tools and products, keeping older loved tools and products, as well as retiring some each year --- to make way for something else.  Along with this, each new product creates a need for its own unique size and shape of space.  This makes organizing an ongoing project, totally unlike your clothes closet, for example, where you simply remove old clothes and add new ones --- all in the same space and same configuration.

So, how do we keep up with it all?  Here are some tips to help you:
- Keep experimenting to see what works best for you.
- Tour various studios and crafting spaces online to see what others are doing.
- Pinterest is FULL of ideas to help you.  I even have a board there with examples.
- Make small changes at a time.
- Try working on a project in your new space and see if it works for you
- If it's not working, change it.
- Maybe you need to start back at square 1 to organize your space.
- Maybe you just need to tweak things a bit to make your space work for you..
- Make notes and/or diagrams to help you plan.
- Incorporate things you like in your home into your crafting space.
- No matter how you do it, control and contain everything.
- Leave space for yourself --- space to create.
- Use a neutral color story, so you can add and change accent colors any time.
- Above all, keep a file or notes on ideas you may like to try.
- Ideas from others just may inspire new ideas of your own, too.
- It's your happy space.
- Make it fun.
- Make it functional.
- Make it be yours.

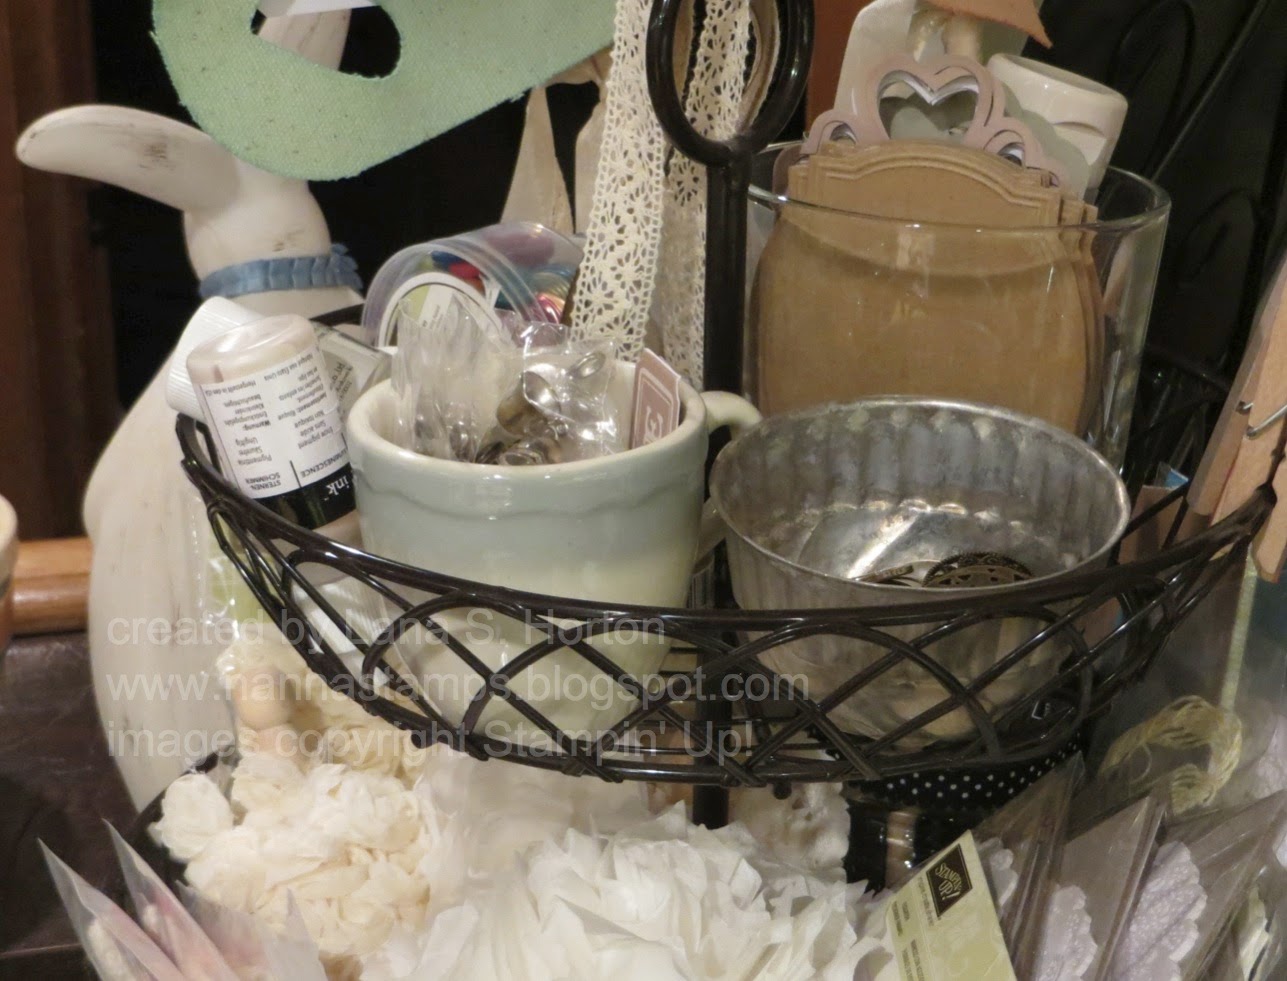
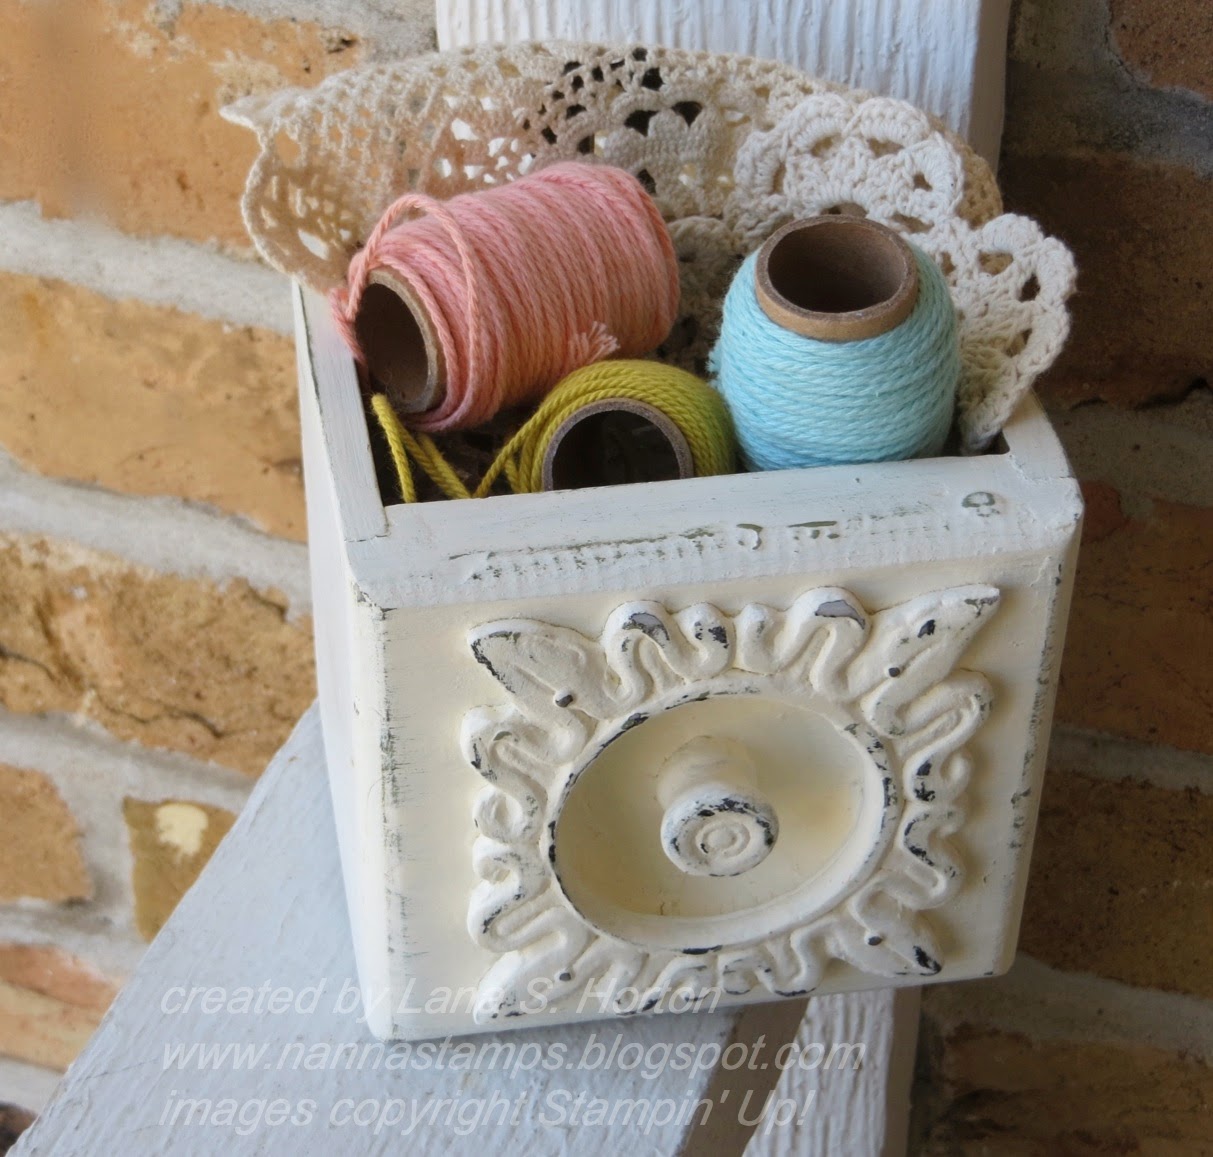
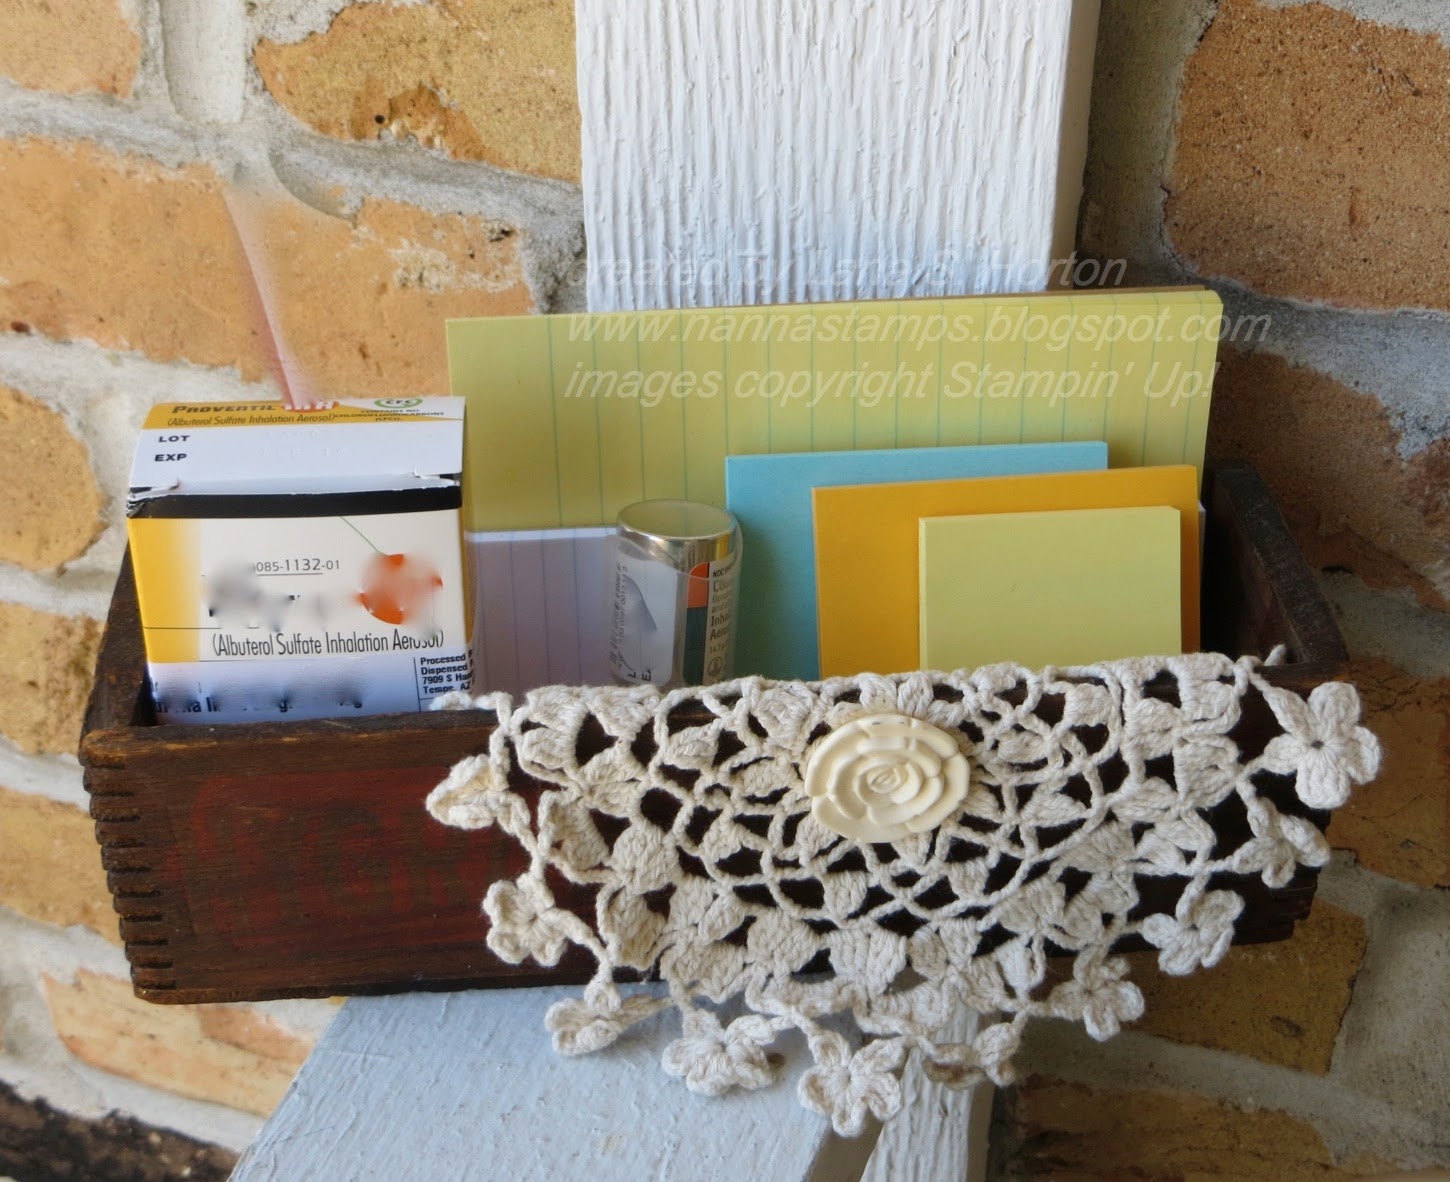
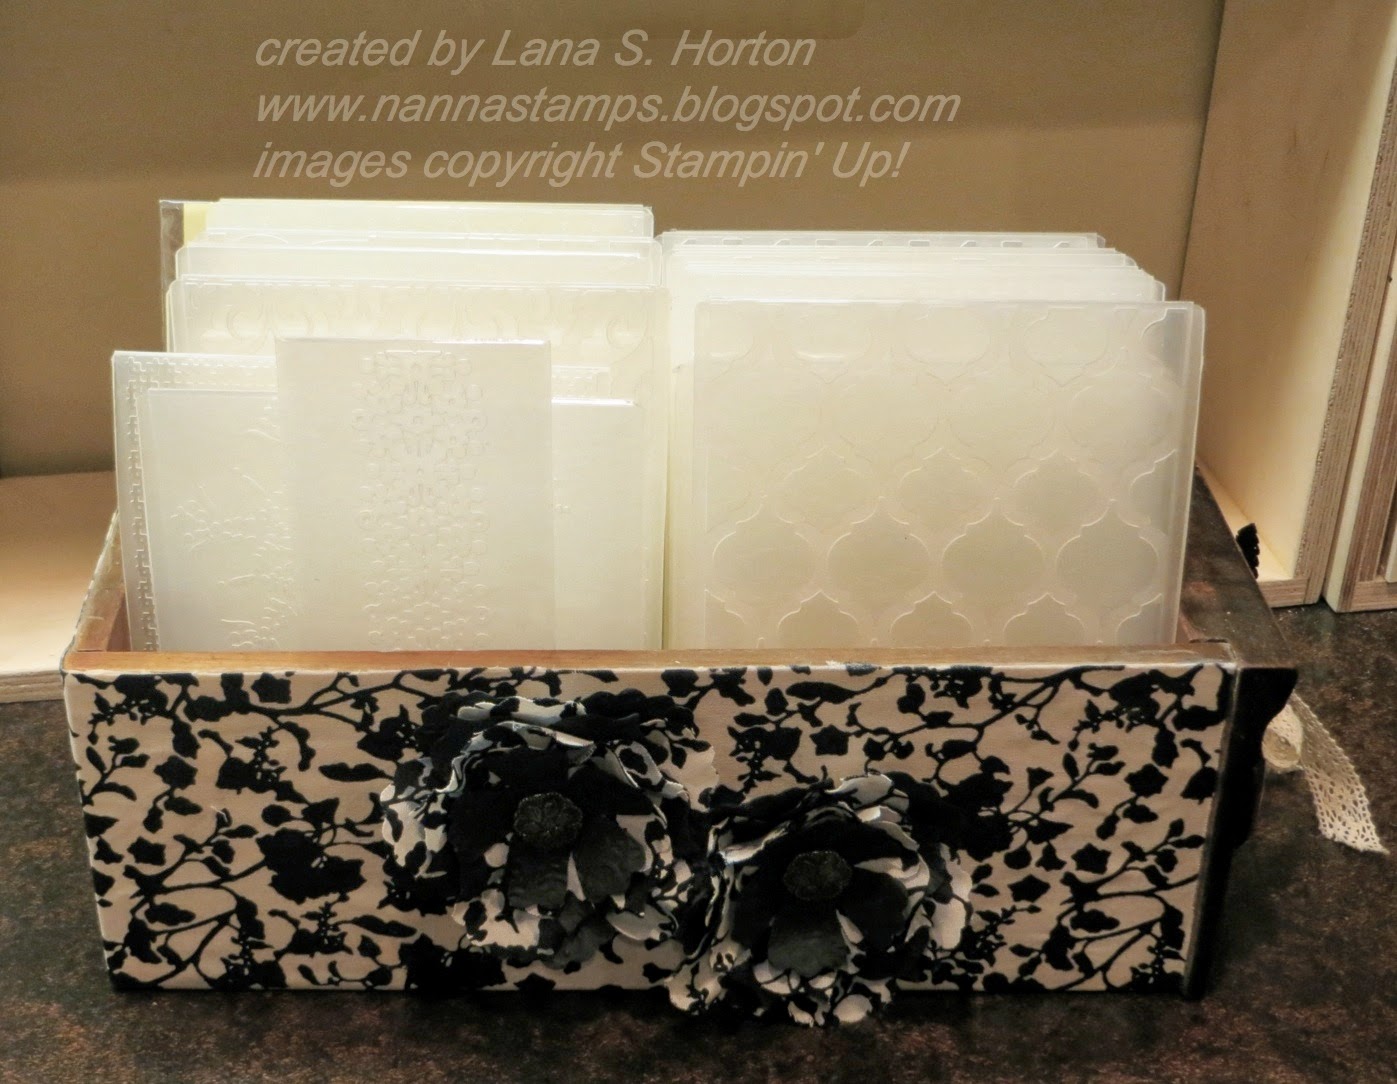
I truly hope this post will inspire you to get going on some new organization of your crafting space.  You'll be glad you did!  Keep scrolling down and see all the unique ways I've used vintage items to organize and store things in my studio.  You will see that I use a lot of favorite vintage items as useful storage containers, while adding interest to my work space.  I've done it all in a neutral black and white color story, so that I can add favorite new color accents whenever I wish to change things out a bit.  Enjoy your little tour!

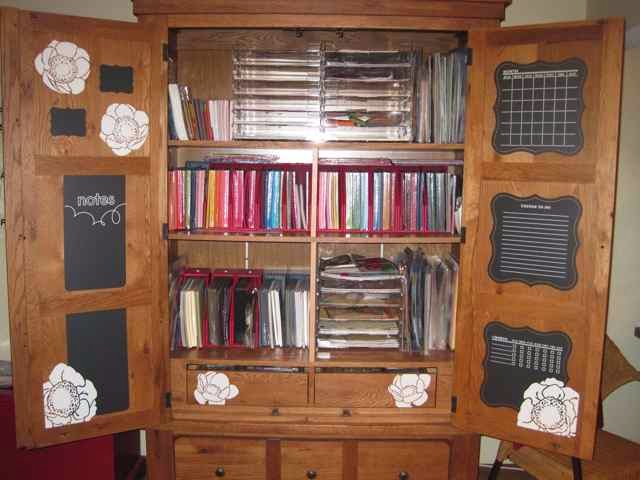
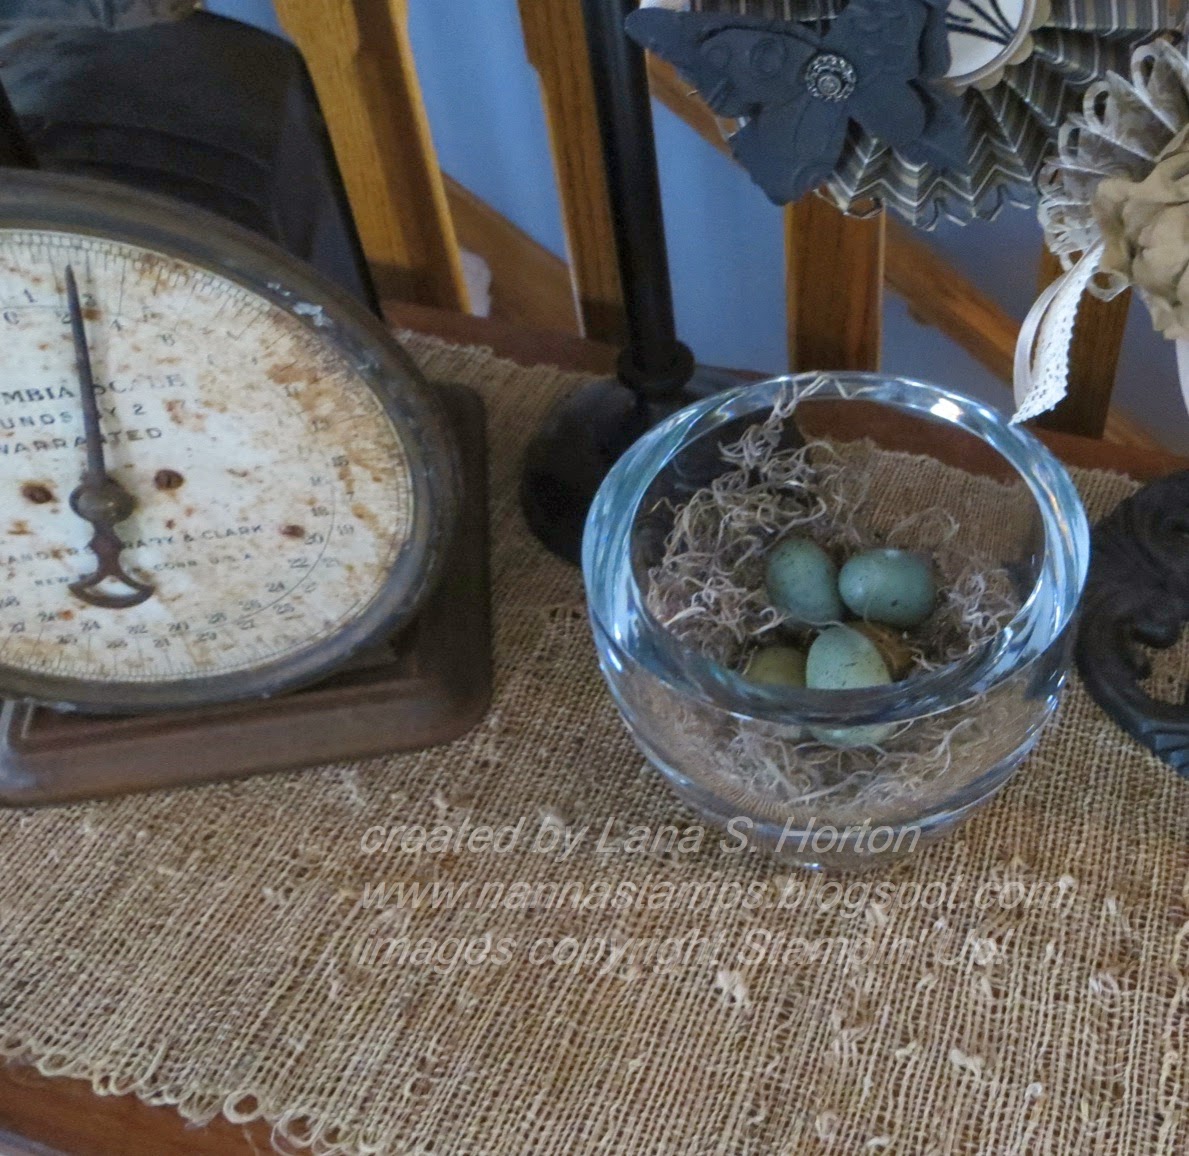
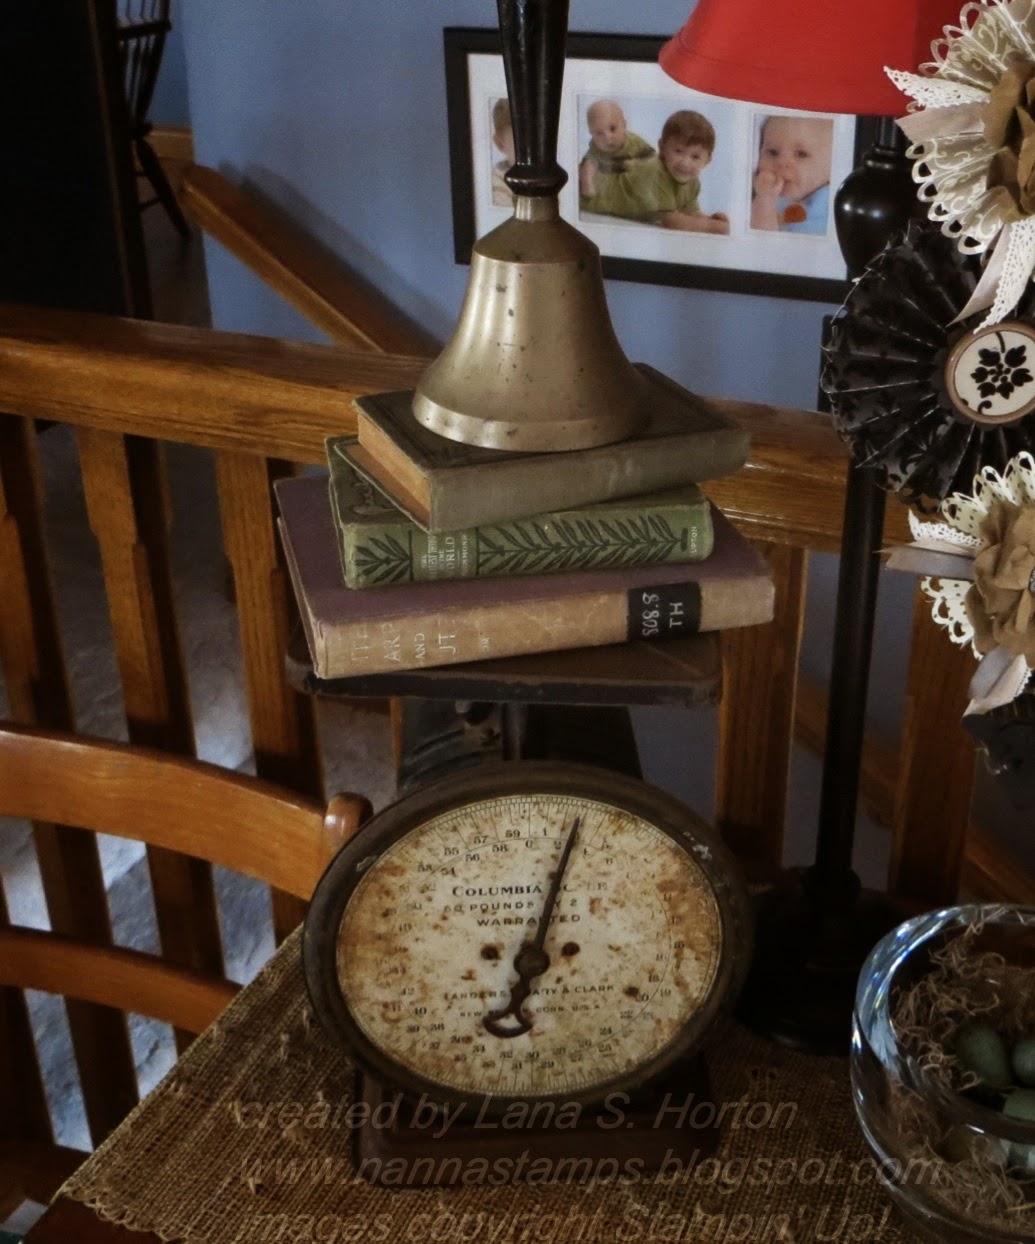
Let's start out with 'Command Central.'  This is where I store all my CS and DSP.  I am fanatical about keeping it neat.  Neatness is not only essential to finding things quickly, but it also protects the papers.  There are 2 smaller drawers inside the armoir doors and then a large drawer on the bottom.  All the drawers contain alphabets, many of which are retired but still used for personal scrapbooking.
Now, let's go to smaller items:
I made this holder for string and twine from vintage spools that I mounted onto a round base that I stained before attaching them.  It is useful and fun.
A 3-tiered server contains all the odds and ends of pieces from ongoing projects so that they don't become lost or damaged or a pile of clutter.  My next post will have more about the cute little cup and the vintage mold being used as containers for smaller items.
This vintage crockery bowl was actually my grandmother's and I love having it out to enjoy each day while it provides a useful place to contain spools of Baker's Twine.
I added more little spools of twine to this little box made from the front of a sewing machine drawer.  I painted it and 'grunged' it up a bit.  I absolutely love it!
This is actually an old cheese box that I fancied up.  I keep it on my desk for corralling little note pads and 'stuff' I need close at hand. 
You've seen this decorated sewing machine drawer before.  It contains my embossing folders.  I keep it out all the time, so I have easy access to my folders and can enjoy how pretty it looks.
This is my sampler for our embossing folders.  Every time we get a new embossing folder, I add a sample to the ring.  When a folder retires, I keep the sampler but move it to a 'retired' ring.  I seldom get rid of an embossing folder.
And last, but not least for today, remember my longer sewing machine drawer?  This is incredibly handy for holding all my Thinlits and Framelits.  Since posting about it previously, I've had the opportunity to use it a lot and it works!

So, now you've seen some of my ideas for organizing a crafting space.  I've followed my rules of...
- keeping it fun but functional.
- keeping a neutral color story, so the pops of accent colors really have an inpact.
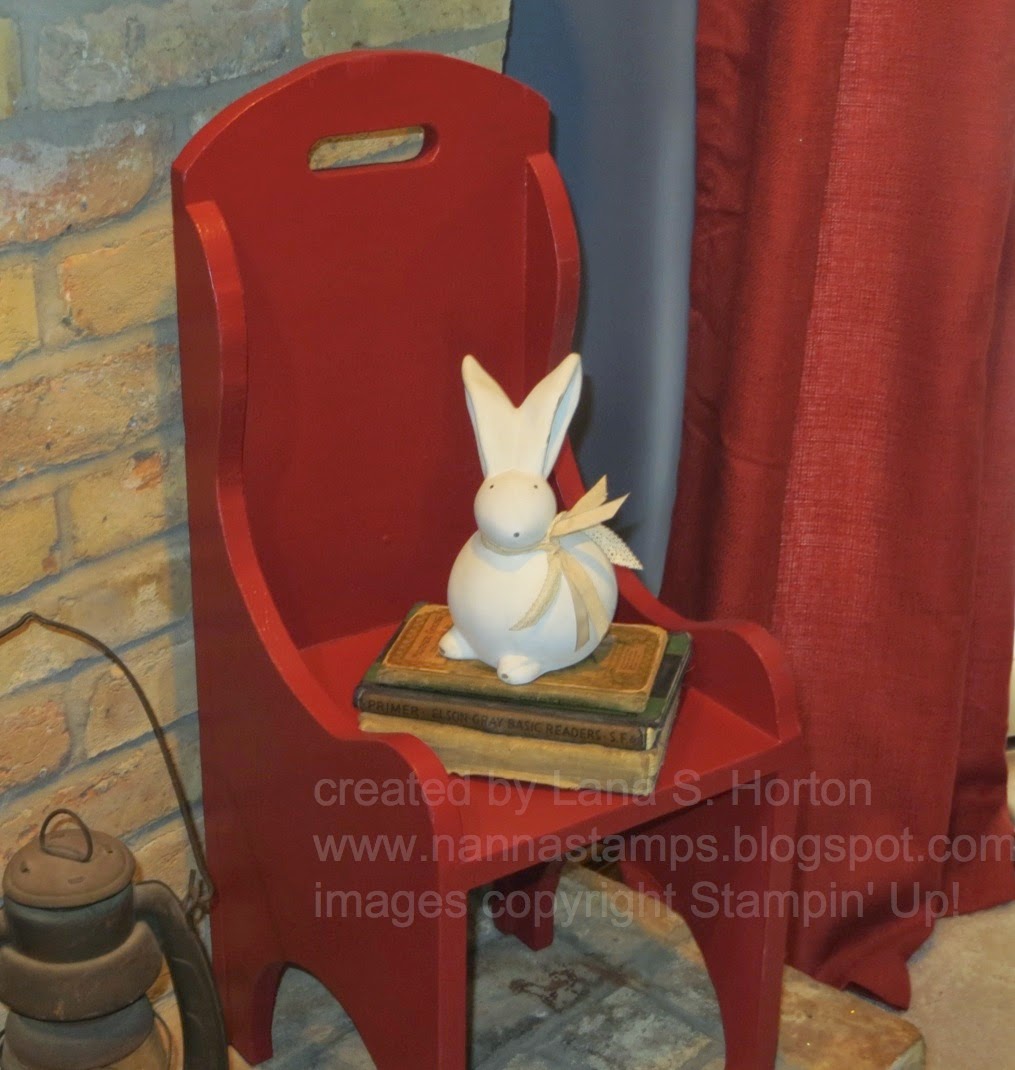
- using favorite vintage items from my home that are special to me.
- keeping all my supplies and tools contained, so I have plenty of room to create.


- Thanks for stopping by my little corner of the blogging world. 
- Click on the tab at the top of the page to see my class schedules and registration policies or click on the left for sneak peeks. 
- Come back soon and come back often for more creative inspiration.

Sunday, March 30, 2014

A Mini Celebration!

Today's project was inspired by my friend Janet Wakeland, a very talented demonstrator and one I truly admire because she is so willing to share her ideas with everyone.  Using the free Heartfelt Banner Kit from our Sale-A-Bration, I created some pennant flags.  If you follow my blog, you know how much I love ribbons and lace, so I added some to my pennant flags.  Don't they make you feel like you're having a mini celebration?
I spritzed my canvas pennants and hearts with my reinker/alcohol mix to color them to coordinate with the other banner pieces.
They coordinate nicely with the banner I made.  Here's a close-up of 1 of them.
March 31 is the last day of Sale-A-Bration, so get an order in while you still have time and see what you can make with a banner kit or one of our other freebies from Sale-A-Bration.  If you already have a kit on hand, break it out and get going. 
Be sure to come back soon because today's post is actually a lead-in to a little series I'm making on organizing your crafting space.  To me, that includes a bit of 'pretty' in with all the working areas.  Who couldn't work better with some cute little pennant flags decorating their space?  Come on back and check out what I have for you next!


Thanks for stopping by my little corner of the blog world.
Have a great day and come back soon for more design inspiration.

Saturday, March 29, 2014

More Spring Decor... Pinterest Inspired

Today's post is a Spring centerpiece I made that was inspired by Pinterest.  I've been seeing several posts showing 3-tiered centerpieces, using eggs, bunnies, birds and such on each of the tiers and really like them a lot.  I decided that I could use a 3-tiered server that I already had and try my hand at it.
I tore up some old Card Stock to line each of the 3 tiers, so the grasses wouldn't fall through and make a mess.  I then used another idea I saw on Pinterest --- little 'nests' in vintage molds.  Look closely and you can see mine on the middle and bottom tiers.  This was such a fun project and, because I already had it all planned in my head, it went together very quickly.  The best part of all --- I did NOT have to go out and purchase anything new to use in this project.  I already had everything on hand.  I love it when that happens.
I hope some of my decor ideas will inspire you to try some projects for your own home.

Come back soon to see some new goodies in my studio and to learn some tips for organizing your crafting space.  Have a great day!

Thanks for stopping by my little corner of the blog world.
Have a great day and come back soon for more design inspiration.

Friday, March 28, 2014

Spring is here? Really? Well, maybe we can pretend it is!

Before my cold reached the point of no return, I did get some cleaning and decorating done, to celebrate Spring.  I don't often get a cold like this and it's really gotten the best of me.  Seeing my decorations in place already, puts a smile on my face.  I'll start by sharing a few ideas with you from what I put on my front porch.


Now, let's move inside and see what I have to share with you.
I love bunnies.  They are kind of everywhere right now:)


I had a brainstorm to stack my old books and school bell on top of this old scale.  The bell was a gift to my mom from a former school teacher.  She actually used it to call in the children from the school yard.  Being a former teacher myself, I love it and treasure the memories.

In my next post, I'll share some of my favorite new decorations.  I just finished making them.  We'll be in the dining room for this.  
Then...
Come back soon to see some new goodies in my studio and to learn some tips for organizing your crafting space.  Have a great day!


Thanks for stopping by my little corner of the blog world.
Have a great day and come back soon for more design inspiration.

Thursday, March 27, 2014

More to come!

Sorry I didn't have a post to share with you today.  I am feeling pretty awful from my chest cold.  Things just have to get better soon.  I did sit a while and work on photos to share soon.

Come back to see ---
- Spring / Easter decor
- Sneak peeks for upcoming classes
- Organizational ideas for crafting spaces
- Decor ideas for crafting spaces
- More cards and projects
- Card-In-A-Box cards in FOUR different sizes

Sneak peek:
- Thanks for stopping by my little corner of the blogging world. 
- Click on the tab at the top of the page to see my class schedules and registration policies or click on the left for sneak peeks. 
- Come back soon and come back often for more creative inspiration.

Wednesday, March 26, 2014

Sometimes, you have to go in a new direction.

Sometimes, regardless of how you think you have it all planned, you end up needing to go in a different direction with your life.  After long deliberation, I have decided to close my Prairie Treasures booth in the Root Cellar of the Wildflour.  With the health problems I've had, it has become a little too difficult to keep up with it all.  I have loved being a part of it all... and from the very beginning when I had to climb down make-shift steps to see, basically, an old, dusty basement.  Kelly had a dream and it was a good one.  I hope the Root Cellar is around for a long, long time.

I have a super 'March Madness' sale going on now through March 28 and then that will be it.  I'll keep a mini Prairie Treasures area in my storage room at home, for my customers, and then spend my work time focusing on my classes.
Come back soon to see some new goodies in my studio and to learn some tips for organizing your crafting space.  Have a great day!


Thanks for stopping by my little corner of the blog world.
Have a great day and come back soon for more design inspiration.
 

Tuesday, March 25, 2014

Playing with DSP, Part 6... the Final Part in This Series

Today, we arrive at Part 6, the final part in my little series on Playing with DSP.  Today's post features our Core'dinations CS.  Why am I including this in a class and a series on Playing with DSP?  It's because, once you emboss and sand it to reveal the design, it kind of becomes your own Designer Paper.  This is a wonderful product that can be used for cards and/or scrapbooking and I've shown it to you in previous posts in these types of projects, so I wanted to show you how it can be used for other projects, as well.

I will have to let out a secret, too:  No matter how hard you try to not 'accumulate' too big a stash, something always pops up that you forgot you ever had.  In this case, it was a great surprise --- Retired Stampin' Up! checkbook covers --- brand new / still in the wrappers!  Now, why would I want to use Core'dinations CS to make checkbook covers?  The answer is --- because you can emboss it and then sand it to bring out the design.  Your embossed design directs the amount of sanding you may choose to do on it.  I'll share 3 examples today.   

1.  Sand just a tiny bit:
2.  Sand a little bit more:
3.  Sand a lot:
I may or may not go back and add stamped images and/or a touch of ribbon.  For now, I just wanted to enjoy the beautiful designs. 
  
We'll be making cards and projects featured in this series, at my April 7 Monday Night Stampers class.

Click here to learn more about our Core'dinations CS and see further examples on using it.

...and here are more examples, along with more info on our Core'dinations CS. (Click here to see.)

So, with this series ending, what will I be up to next?  
I have new goodies to share with you on organizing your craft spaces ...and I have Spring/Easter decor to share... and, further down the road, I'll be sharing tons of ways to use ribbons in your projects.  Be sure to come back soon and come back often, so you don't miss a thing!


Thanks for stopping by my little corner of the blog world.
Have a great day and come back soon for more design inspiration.

Monday, March 24, 2014

Playing with DSP, Part 5

Today is a short post for two reasons.  First of all, I have a horrible chest cold and do not feel very well at all.  Secondly, it's just quick and easy to share Part 5 of my series with you.  If you follow my blog, these may look familiar.  Why am I sharing them again?  Well, they're cute AND we'll be making these at my April 7 class on Playing with DSP.  These are treat holders that are super cute, easy to make and are a bit addictive.  So... you have been warned.
I do have one more part in this series, which will be brand new --- not even included in the photo in the side bar.  Be sure to come back for Part 6, the final part in the series, and see what it is!

We'll be making cards and projects featured in this series at my April 7 Monday Night Stampers class.

Thanks for stopping by my little corner of the blog world.
Have a great day and come back soon for more design inspiration.

Saturday, March 22, 2014

Playing with DSP, Part 4

Today, we're up to Part 4 already in my series on Playing with DSP (Designer Series Papers) and I have another beautiful card ready to share with you.  It's another combo of black and white.  It has worked well to hurry up Spring by my making more cards for Spring but, unfortunately, I've succumbed to a severe chest cold and it has set off asthma problems with me... big time.  I need to catch a break here!  I'm trying to focus on the warmer weather when we have it and my stamping and not think about how badly I really feel.  Thank goodness for my Nebulizer!  

... and another view from my previous post...
That's all for now.  Come back soon to see how I wrap up my series on Playing with DSP.

We'll be making cards featured in this series, at my April 7 Monday Night Stampers class.

- Thanks for stopping by my little corner of the blogging world. 
- Click on the tab at the top of the page to see my class schedules and registration policies or click on the left for sneak peeks. 
- Come back soon and come back often for more creative inspiration.

Friday, March 21, 2014

Playing with DSP, Part 3

As we continue our little series on playing with DSP, I have a great card to share with you today.  Well, actually, I have 2 cards.  I love, love, love creating black and white designs.  They just speak to me.  We'll be making one of these cards at my next Monday Night Stampers class, in April.  Both cards feature the folded frames technique and both cards feature photopolymer stamps that I designed myself, with our new personalized stamp options.
Close-ups of the stamps I designed:

We'll be making cards featured in this series at my April 7 Monday Night Stampers class.

- Thanks for stopping by my little corner of the blogging world. 
- Click on the tab at the top of the page to see my class schedules and registration policies or click on the left for sneak peeks. 
- Come back soon and come back often for more creative inspiration.

Thursday, March 20, 2014

Playing with DSP, Part 2

Today, we'll continue our little series on playing with DSP as I share another card with you.  This one, features a beautiful layer of vellum, as well as embossed vellum layered flowers.  Vellum is a wonderful CS to use when you want to use a certain color but want it to be an even softer shade.  If you saw my previous post with my Swallowtail framed project, remember that I used vellum over the DSP in the center of the frame, to give a softer look to the background.  I used this same kind of technique for the main layer of my card.  I've lined the envelope to help it coordinate with my card.
By the way...
Happy Spring!  As it is still a chilly 36 degrees here in the Land of Lincoln today, my husband told me:  "Merry Spring."  Not funny!  Maybe if I keep making Spring cards, it will finally warm up.
We'll be making this card, along with cards featured in this series, at my April 7 Monday Night Stampers class.  At the class, I'll share several ways to successfully attach vellum to your projects without having the adhesive show.

- Thanks for stopping by my little corner of the blogging world. 
- Click on the tab at the top of the page to see my class schedules and registration policies or click on the left for sneak peeks. 
- Come back soon and come back often for more creative inspiration.
Related Posts Plugin for WordPress, Blogger...